A chest freezer is certainly a must appliance for home cooks. But when it comes to cleaning the ice, the process of defrosting is annoying and time-consuming. What if there is a way to remove ice in the chest freezer without defrosting it?
Following are the 6 steps to get rid of ice in a chest freezer without defrosting it:
Step 1 Prepare (cloth, towel, bucket, freezer gloves, ice scraper)
Step 2 Unplug the freezer
Step 3 Empty food
Step 4 The scraping method (without chemicals, without defrosting)
Step 5 Remove the ice
Step 6 Put food back and plug in the freezer
How to get rid of ice in the chest freezer without defrosting
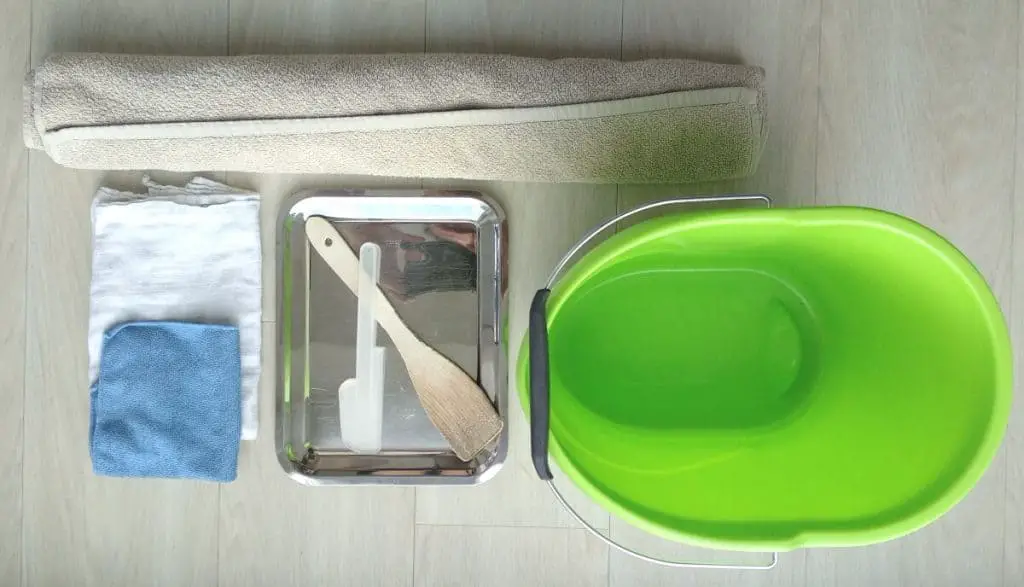
Step 1 Prepare:
find some old towels and put them on the floor in front of the chest freezer. Prepare a bucket in which you will put the ice. To scrape the ice of the walls use a hard plastic or wooden spatula. The spatula should be sturdy, so it doesn’t break. Do not use stainless steel scraper as it can damage the chest freezer walls.
After trying several scraping tools, we found that freezer scrapers are the most reliable. The hard plastic, once like the Mallory S24-994 Maxx XS 10″ Ice Scraper with Foam Grip, is the best.

Also prepare a kitchen cloth, and a plastic or stainless steel rectangular plate (like a waiter plate). It is also wise to have freezer gloves, so you don’t get frostbites. You will also need a clean kitchen cloth for cleaning the gasket and edges with some warm water.
Step 2 Safety:
unplug the chest freezer before you start scrubbing.
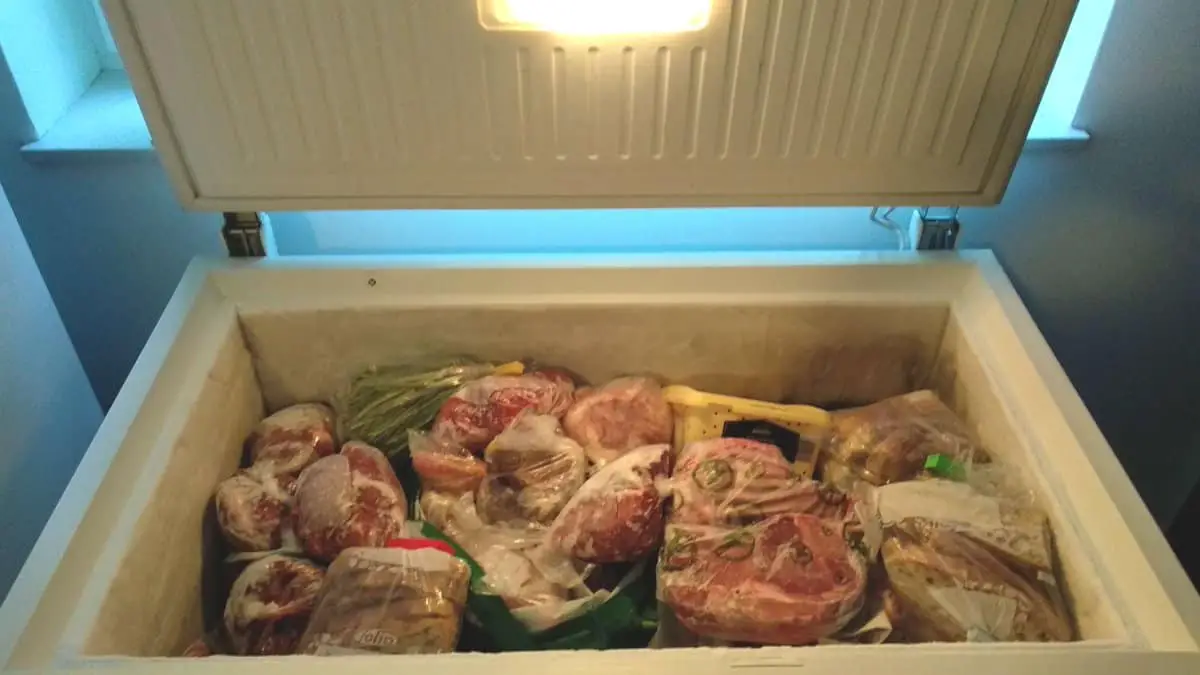
Step 3 Empty food:
if you want to clean your chest freezer, you need to empty it first. The best way to do this is to put all your things into separate plastic bags. When you clear your chest freezer, it is also a great time to organize the food you are storing in there.
You know that searching for food in the chest freezer can be challenging. Every time you take something out, another thing takes its place. So when you empty the chest freezer, it is a perfect time to put back everything in its place.
If you are asking yourself what to do with food when cleaning or defrosting the chest freezer, the answer is nothing. Just put it on the towels that are on the floor as the process of clearing the ice from the chest freezer won’t take more than 10 minutes. After 10 minutes, your food will still be deep-frozen and won’t go bad.
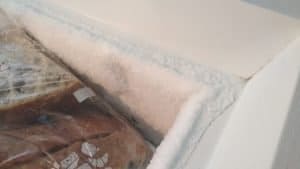
Step 4 the scraping method:
to scrape the ice of the walls, you don’t need to defrost the entire chest freezer. Defrosting the entire chest freezer takes a lot of time. You can do it, but you will need to put the food you took out of the freezer into a separate freezer, so it doesn’t go bad. Also, the procedure of defrosting the entire chest freezer is much longer and energy less efficient than the fast scrub method.
The fast way to clear the ice in the chest freezer is to scrape it off the walls. Look at it like cleaning the ice off of windshield on a freezing morning. Put on your gloves, take kitchen cloth into one hand, and scraper into another. Start scraping the ice from the bottom up with relatively fast moves by holding the scraper tool at 45 degrees angle. You will see that entire chunks of ice will fall off the wall. Continue with scrubbing on all four chest walls. In the end, also scrape the edges inside the chest and bottom of the chest.
The benefits of the scraping method:
If you defrost the chest freezer completely, the temperature inside the chest is going to rise. Also, the inside walls of the chest will be much warmer after you have done the defrost, and after you put the food back in the freezer, a small layer of ice will form very quickly. In the end, you will use more energy, and a thin layer of ice will develop very quickly anyway.
With the scraping method, you scrape the thick ice off, and you are left with a thin layer of ice on the chest walls. Meaning you achieve the same results much faster and cheaper as you won’t use as much energy as you would with the defrosting method.
Step 5 remove the ice:
use a stainless steel rectangular plate and push the ice to one end of the chest. Load the ice onto a plate and put it in the bucket. When the chest is clear of ice, wipe the gasket and edges of the chest with a wet cloth.
Step 6 put food back in:
now you need to put the food back in the chest freezer and close the cover. Also, don’t forget to plug it back in.
ESSENTIAL TOOLS AND EQUIPMENT FOR FREEZING FOOD

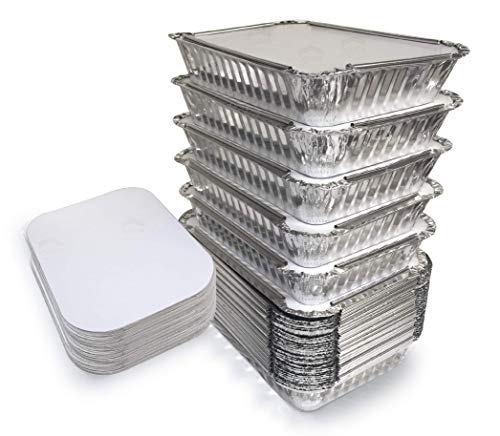


Last update on 2025-01-08 / Affiliate links / Images from Amazon Product Advertising API
Why does ice build up in a chest freezer?
If you sometimes ask yourself, why does my freezer look like it snowed? The answer lies in the air. The air outside the freezer is warm and cold inside the freezer. When warm and humid air meets cold freezer air immediately, crystals of ice are formed. The temperature of humid air outside the freezer is around 71F or 22 C. When humid warm air is cool down to 32F 0C, which happens inside the freezer, it turns into ice.

Usually, you open your freezer chest a few times a week. Each time you open the chest freezer, little ice is built up, and in around two or three months, you get a hefty dose of ice in your chest freezer.
How often should you clean accumulated ice in a chest freezer
There is no specific timeframe. It really depends on the factors stated in the next point in this article. Usually, it would be best if you cleaned it every 3-4 months.
The more you take into consideration the 7 steps below on how to stop the chest freezer from icing up, the fewer times you will have to remove the ice from it.
How do you stop your chest freezer from icing up?
You can’t! A chest freezer will build up ice eventually. But you can slow the process by considering these 8 simple steps:
Step 1: when you take something out of the freezer, do not leave it open for a long time. If the food in the chest freezer is organized, well packed, and labeled, you won’t have many problems locating the desired bag. On the other hand, if your chest freezer is a mess, you will leave it open for a longer time when searching for something, and ice will build up much faster.
Step 2: reduce the number of times to get something out of your freezer.
Step 3: check if the chest freezer lid is fully closed when you put food and different boxes (exp. ice cream) into the chest freezer. An item you put in may be too large, and the lid will stay open just slightly. If this happens, the ice build up process will speed up dramatically.
Step 4: Always put cooled or cold food in the chest freezer, never put in warm or hot.
Step 5: When you put in large batches of food, put it on the bottom of the chest and lay already frozen food on the fresh items.
Step 6: clean the gasket of the chest freezer as there might be a piece of plastic or food blocking the rubber seal to compress completely.
Step 7: check your freezer temperature. If it constantly fluctuates or is too high, you might have a problem with freezer condenser coils or the thermostat.
Step 8: If the gasket is worn out, cold air will leak out of the freezer, forcing the freezer to work harder to cool down. As a result, the freezer may run longer than it should, or excess ice may accumulate inside of the freezer.
3 popular chest freezers we would recommend
Midea MRC070S0AWW Chest Freezer, 7.0 Cubic Feet

Northair Compact Chest Freezer 3.5 Cubic Feet